type
status
date
slug
summary
tags
category
icon
password
ServerStatus中文版是一个酷炫高逼格的云探针、云监控、服务器云监控、多服务器探针~。
部署(docker)
先在服务器docker的常用目录下新建文件夹
mkdir -p /aa/bb/cc #创建文件夹cd /aa/bb/cc #进入文件夹wget --no-check-certificate -qO ~/serverstatus-config.json https://raw.githubusercontent.com/cppla/ServerStatus/master/server/config.json && mkdir ./serverstatus-monthtraffic #下载配置文件到当前目录vim docker-compose.yml #创建docker配置创建完运行命令
docker compose up -d安装修改配置文件
客户端部署
原来的项目客户端布置命令如下
wget --no-check-certificate -qO client-linux.py 'https://raw.githubusercontent.com/cppla/ServerStatus/master/clients/client-linux.py' && nohup python3 client-linux.py SERVER={$SERVER} USER={$USER} PASSWORD={$PASSWORD} >/dev/null 2>&1 &不推荐,因为在客户端上布置的python没有开机自动运行,并且卸载不方便。
以下是推荐的另一种命令,稍微修改了下
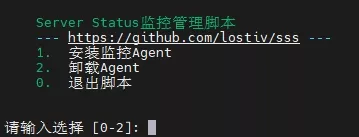
curl -L https://github.com/lostiv/ServerStatus/raw/master/sss-agent.sh -o sss-agent.sh && chmod +x sss-agent.sh && sudo ./sss-agent.sh 服务端的ip地址 设定的账号 设定的密码这个命令在你的目录下下载并创建sss-agent.sh这个命令,让py加入开机运行例。如果要卸载就运行
bash sss-agent.sh选择卸载即可。
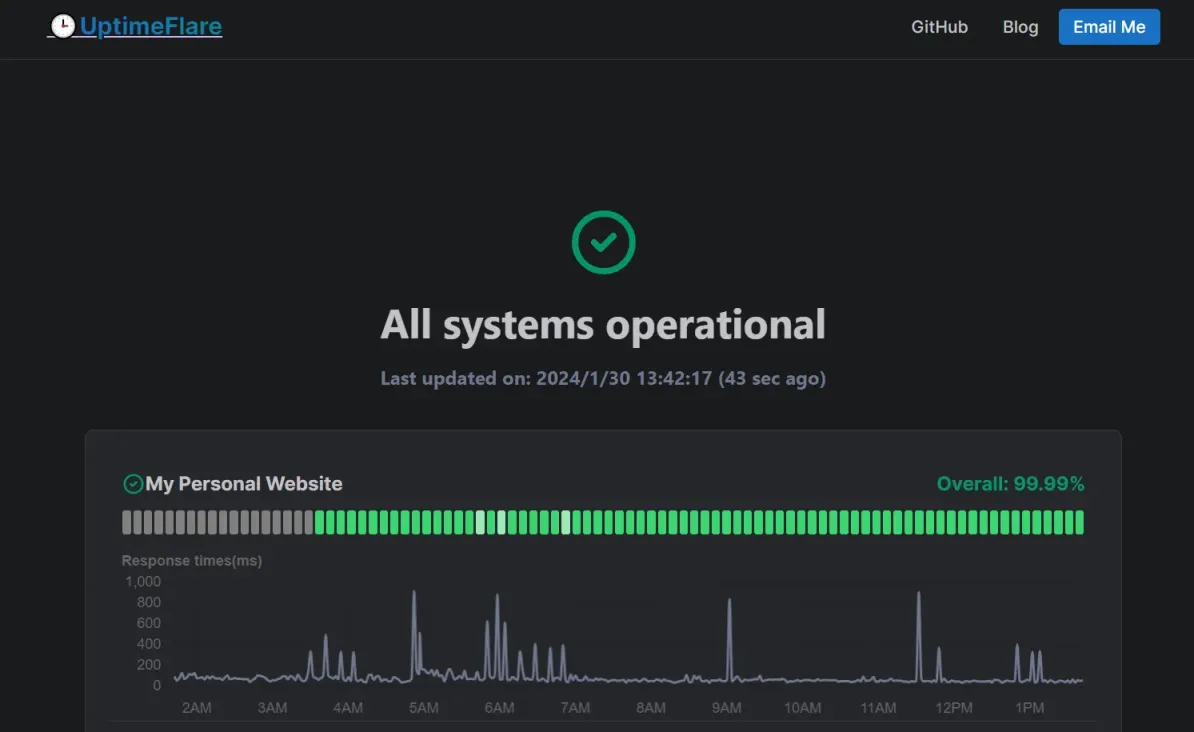
最后感谢这2个开源项目:
- Author:lost4
- URL:https://blog.lost4.vip/article/17b34f8b-4cc2-809c-944c-d744b94487ea
- Copyright:All articles in this blog, except for special statements, adopt BY-NC-SA agreement. Please indicate the source!


